


Document Actions
gvSIG-Desktop 1.12. User manual
The last dialogue box is the layer selection. We can define a name for the gvSIG layer or leave the default value (the service name) in this window. A box appears below with a list of the service layers in tree form. When the mouse is moved over the layers, information about these layers appears: extension, scale ranges, type of layer (raster or vector image) and if it is visible by default in the service (fig. 4).
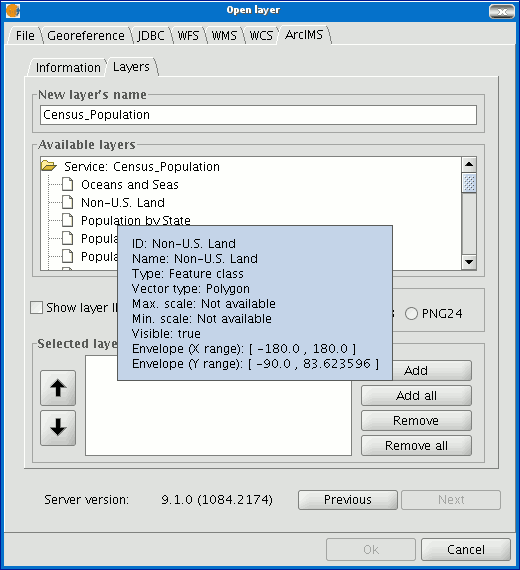
Figure 4: Metadata from a service layer
We can view each layer’s ID via the “Show layer ID” check box. This check box is useful when there are layers whose descriptor is repeated. Therefore, the only way to distinguish between them is via an ID, which will always be unique. A combo box is also available to select the image format we wish to use to download the images. We can choose JPG format if our service works with raster images or one of the other remaining formats if we want the service to have a transparent background.
N.B. The transparency in 24-bit PNG images is not correctly displayed in gvSIG 0.6. This type of files will be supported in gvSIG 1.0.
The box with the layers selected for the service appears below. If you wish, you can add just some of the service layers and also reorganise them. This makes the service view totally personalised.
N.B. The configuration cannot be accepted until a layer has been added.
N.B. Multiple selections of service layers can be made by using the Control and CAPS keys.
Cached time 11/21/13 14:56:28 


